I’m not sure exactly when I first designed the basic structure, but I do remember that I put one on TAHU KINO prior to starting POHATU KINO back in September 2001, so it’s been over half a year by now. And while I’ve also used it on another MOC (soon to be published), NOAOKE is the first MOC I’ve been able to finish that utilized this design.
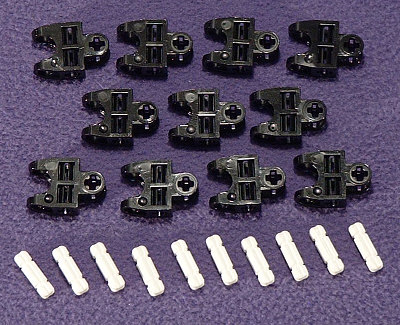

Here you can see a view of the type of parts you need (on the left) and what the basic core design looks like (on the right), with contrasting colors so it’s easier to see how it works. Make sure the hip-joints are all pointing in the same direction, and insert the small tab-shaped end into the ball-socket on the next piece, then shove a #2 plus-rod through the joint. These parts are really not designed to be able to do this, so it can be somewhat tricky to get the plus-rods to go all the way through the holes. I find it often helps if I place the plus-rod against a hard surface and gently press the joint onto it. Once you’ve built the basic design…
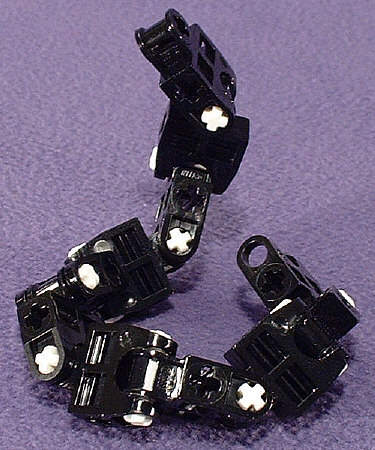
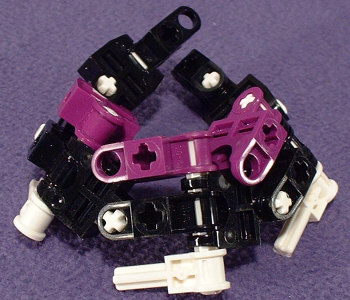
…you can coil it…
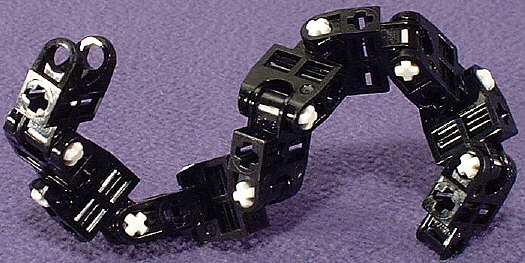
…you can curve it…
…you can even twist it.
Or you can replace the #2 plus-rods with something longer so you can attach pieces onto them. One important thing to keep in mind is that if you attach pieces to the joints, they will lay flat over the piece in the center of the joint. Another possibility (not shown) would be to attach pieces to the empty plus-rod sockets on the sides of the hip-joints, but I find that the shape of the tail fills out better and has a more interesting looking curve if you attach them to the actual joint.
Well, there you have it. The MURASAKI Tail. Each MOC is unique, so you’ll have to figure out how to attach it yourself. To end the tail section, I’ve found that things like the TURAGA hands work rather nicely if you attach them in the same way that you would another hip-joint.
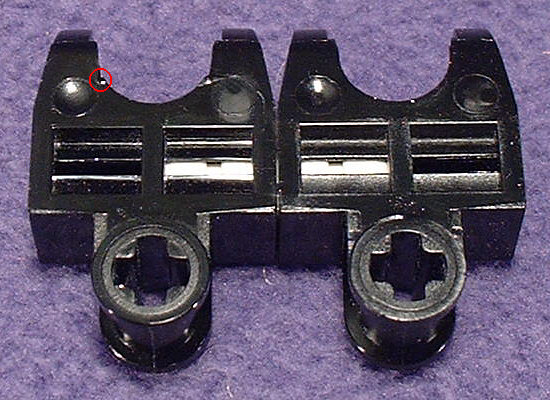
There is one tiny little problem with this design. The pieces were really not built with this type of construction in mind, so the sides of the socket get a bit chewed up the first time you attach them in this manner. In the above picture, the piece on the left has been built into a tail, while the piece on the right has not. I have circled one of the tail-scars so you can see what to look for. I suspect that it might also be possible to split the wings of the socket-joint by doing this, but I’ve built over two feet of tail-structure and not had that happen yet.

0 Comments