The following are the fourteen steps detailing how to build a BioCycle. I chose to use the EARTHQUAKE NK because I felt that the details would photograph better with that design than they would with the other ones. I’ve added a few notes to the instructions on this page.
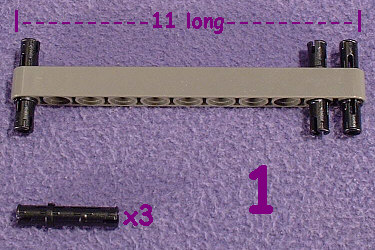
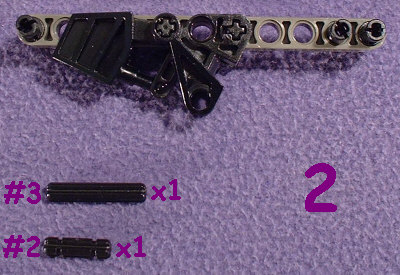
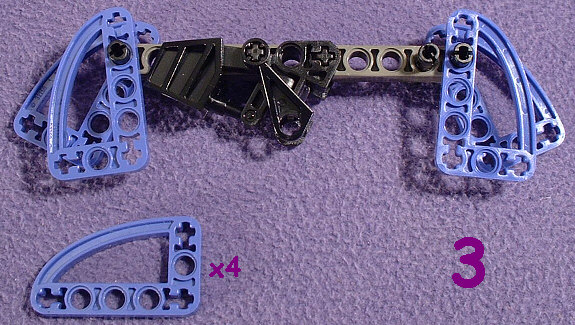
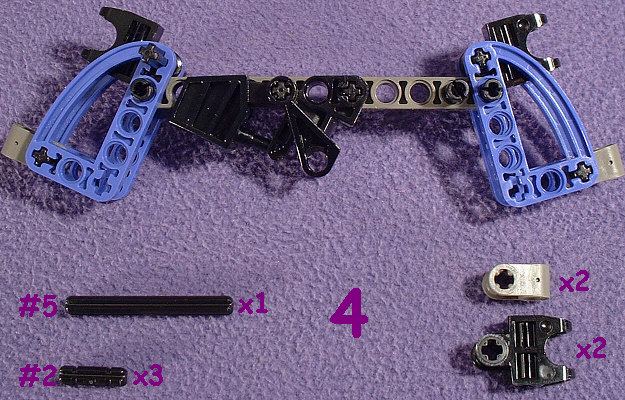
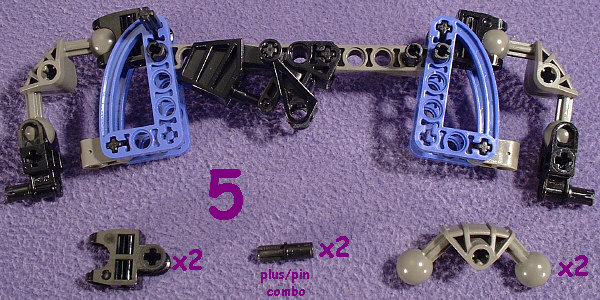
Step 1: The main 11-length bar on this is somewhat hard to find, but without one at least that long, there’s not enough room for all of the pieces to attach. If you have one that’s actually longer (I know that a 15-length is available), you could conceivably make an extended “chopper” version with it. You can find a partial list of sets that contain this piece here .
Step 3: The Star Wars character sets and some of the Racers sets are great sources for these 3×5 flat quarter-oval pieces in a wide variety of colors. At least twelve different colors are listed here .
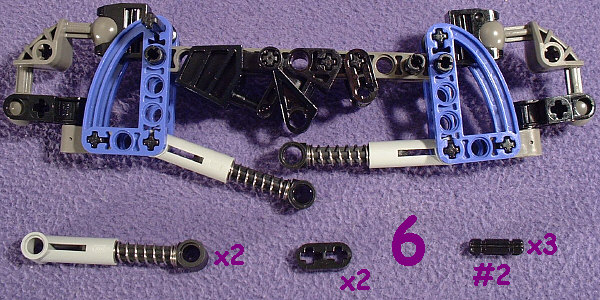
Step 6: The 1×2 flat liftarms were first released in 2002, so there aren’t a lot of sets that use them yet. You can use a pair of 1×3 flat liftarms, but they will cause the shock to be right where the driver’s heels should be, and there’s not a lot of space between a MATORAN’s heels. If you don’t have them, you can find a list of sets that include them here .
The shocks are even more uncommon right now. I know the TARAKAVA set comes with six (two each in light-grey, turquoise, and blue), the ALPHA TEAM™ Bomb Squad set comes with a red one, and the RC Race Buggy comes with four red ones. I am not aware of any other currently available sources for them.
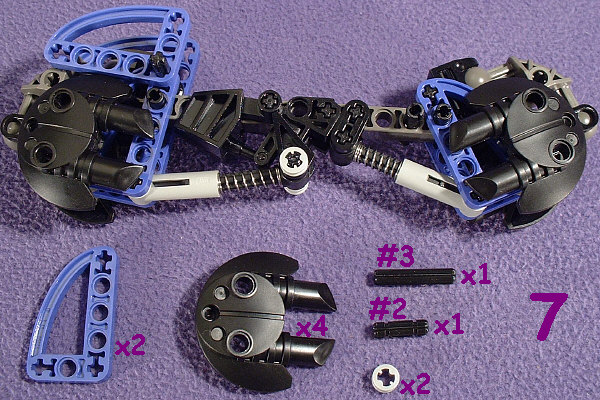
Step 7: When attaching the other end of the front shock, you should spin the spring on the shock so that the “piston” on the TOA foot fits between two of the coils rather than pressing into one of them. This will considerably reduce the amount of flex put into that shock.
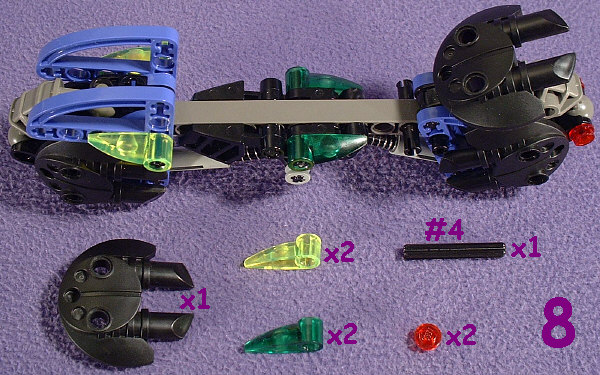
Step 8: When attaching the tail-lights, you must firmly press them into the hip-joint or they will be constantly falling out. If a gentle flick will knock them loose, you didn’t get them in tight enough.
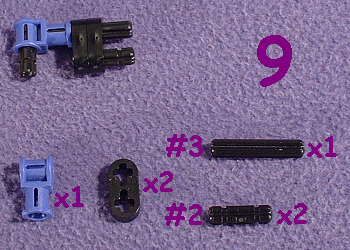
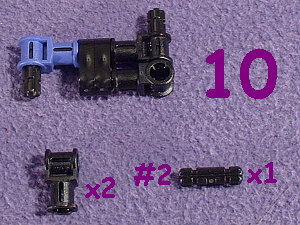
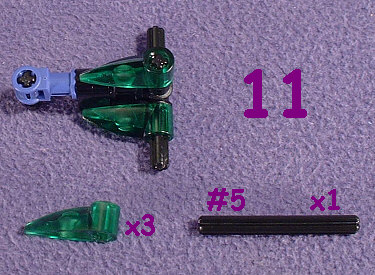
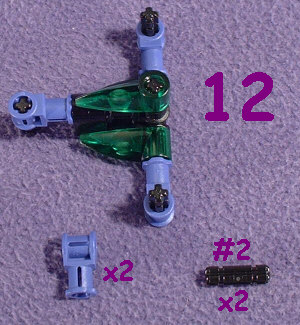
Step 9: Same deal as Step 6, but if you don’t have two more 1×2 flat liftarms available, you can use 1×3 flat liftarms, as long as you use a #3 plus-rod where the #2 plus-rod is shown sticking out of the purple T-joint. It might be wise to put a full-bushing or two half-bushings on the #3 plus-rod to keep the control yoke from slipping down when attached.
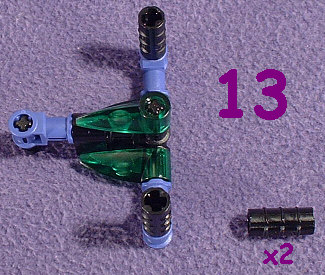
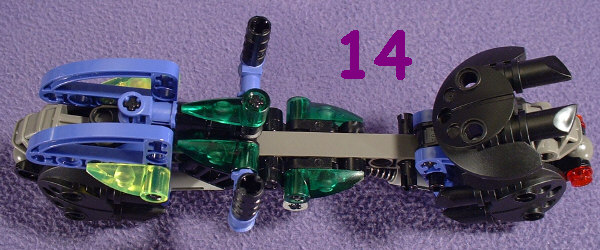
Step 13: If you don’t have the plus-rod joiners used as hand-grips, you can always substitute a pair of #3 plus-rods for the #2’s used in Step 12, and put either two full-bushings or four half-bushings on each one.
Step 14: Congratulations! You’re done! To put a driver on this, you will need to remove one of the MATORAN’S legs, set him into the driver’s seat, and then reattach the leg. It works better if your driver has two of the non-throwing “left” arms, since they will fit nicely around the hand-grips while the disc-throwing arms will not.
0 Comments