Before you begin building, be sure to read the Contest TOS too.
Unfortunately it seems to be a Facebook only contest, but if you can swallow your pride (which perhaps kept you from being on Facebook until now) then its one of the best BIONICLE® contests I’ve seen come out of The LEGO® Company. Other than having the Facebook account, the rules seem very generous. It seems you have to upload the photo from within the #BionicleMaskMaker page and have it include the *grumbles* Hashtag: “#BionicleMaskMaker”.
From what I can tell, your mask does not NEED to be wearable, nor worn by anyone in the picture, but the trend in photos seems to indicate otherwise. If your short on parts and cant think of a good way to actually wear it, you can probably get away with making the face part. Then lay down with your face up, using gravity to keep it on your face for the entry picture. If your mask is more decorative than functional/wearable, you can enter as many masks as you want. So you could probably take a picture of the mask after rebuilding it from it’s decorative form and enter it as well as the original, just to be safe. Using bricks and other system pieces is permitted, but if they are heavily used they may put a ding in your score when they go looking for winners.
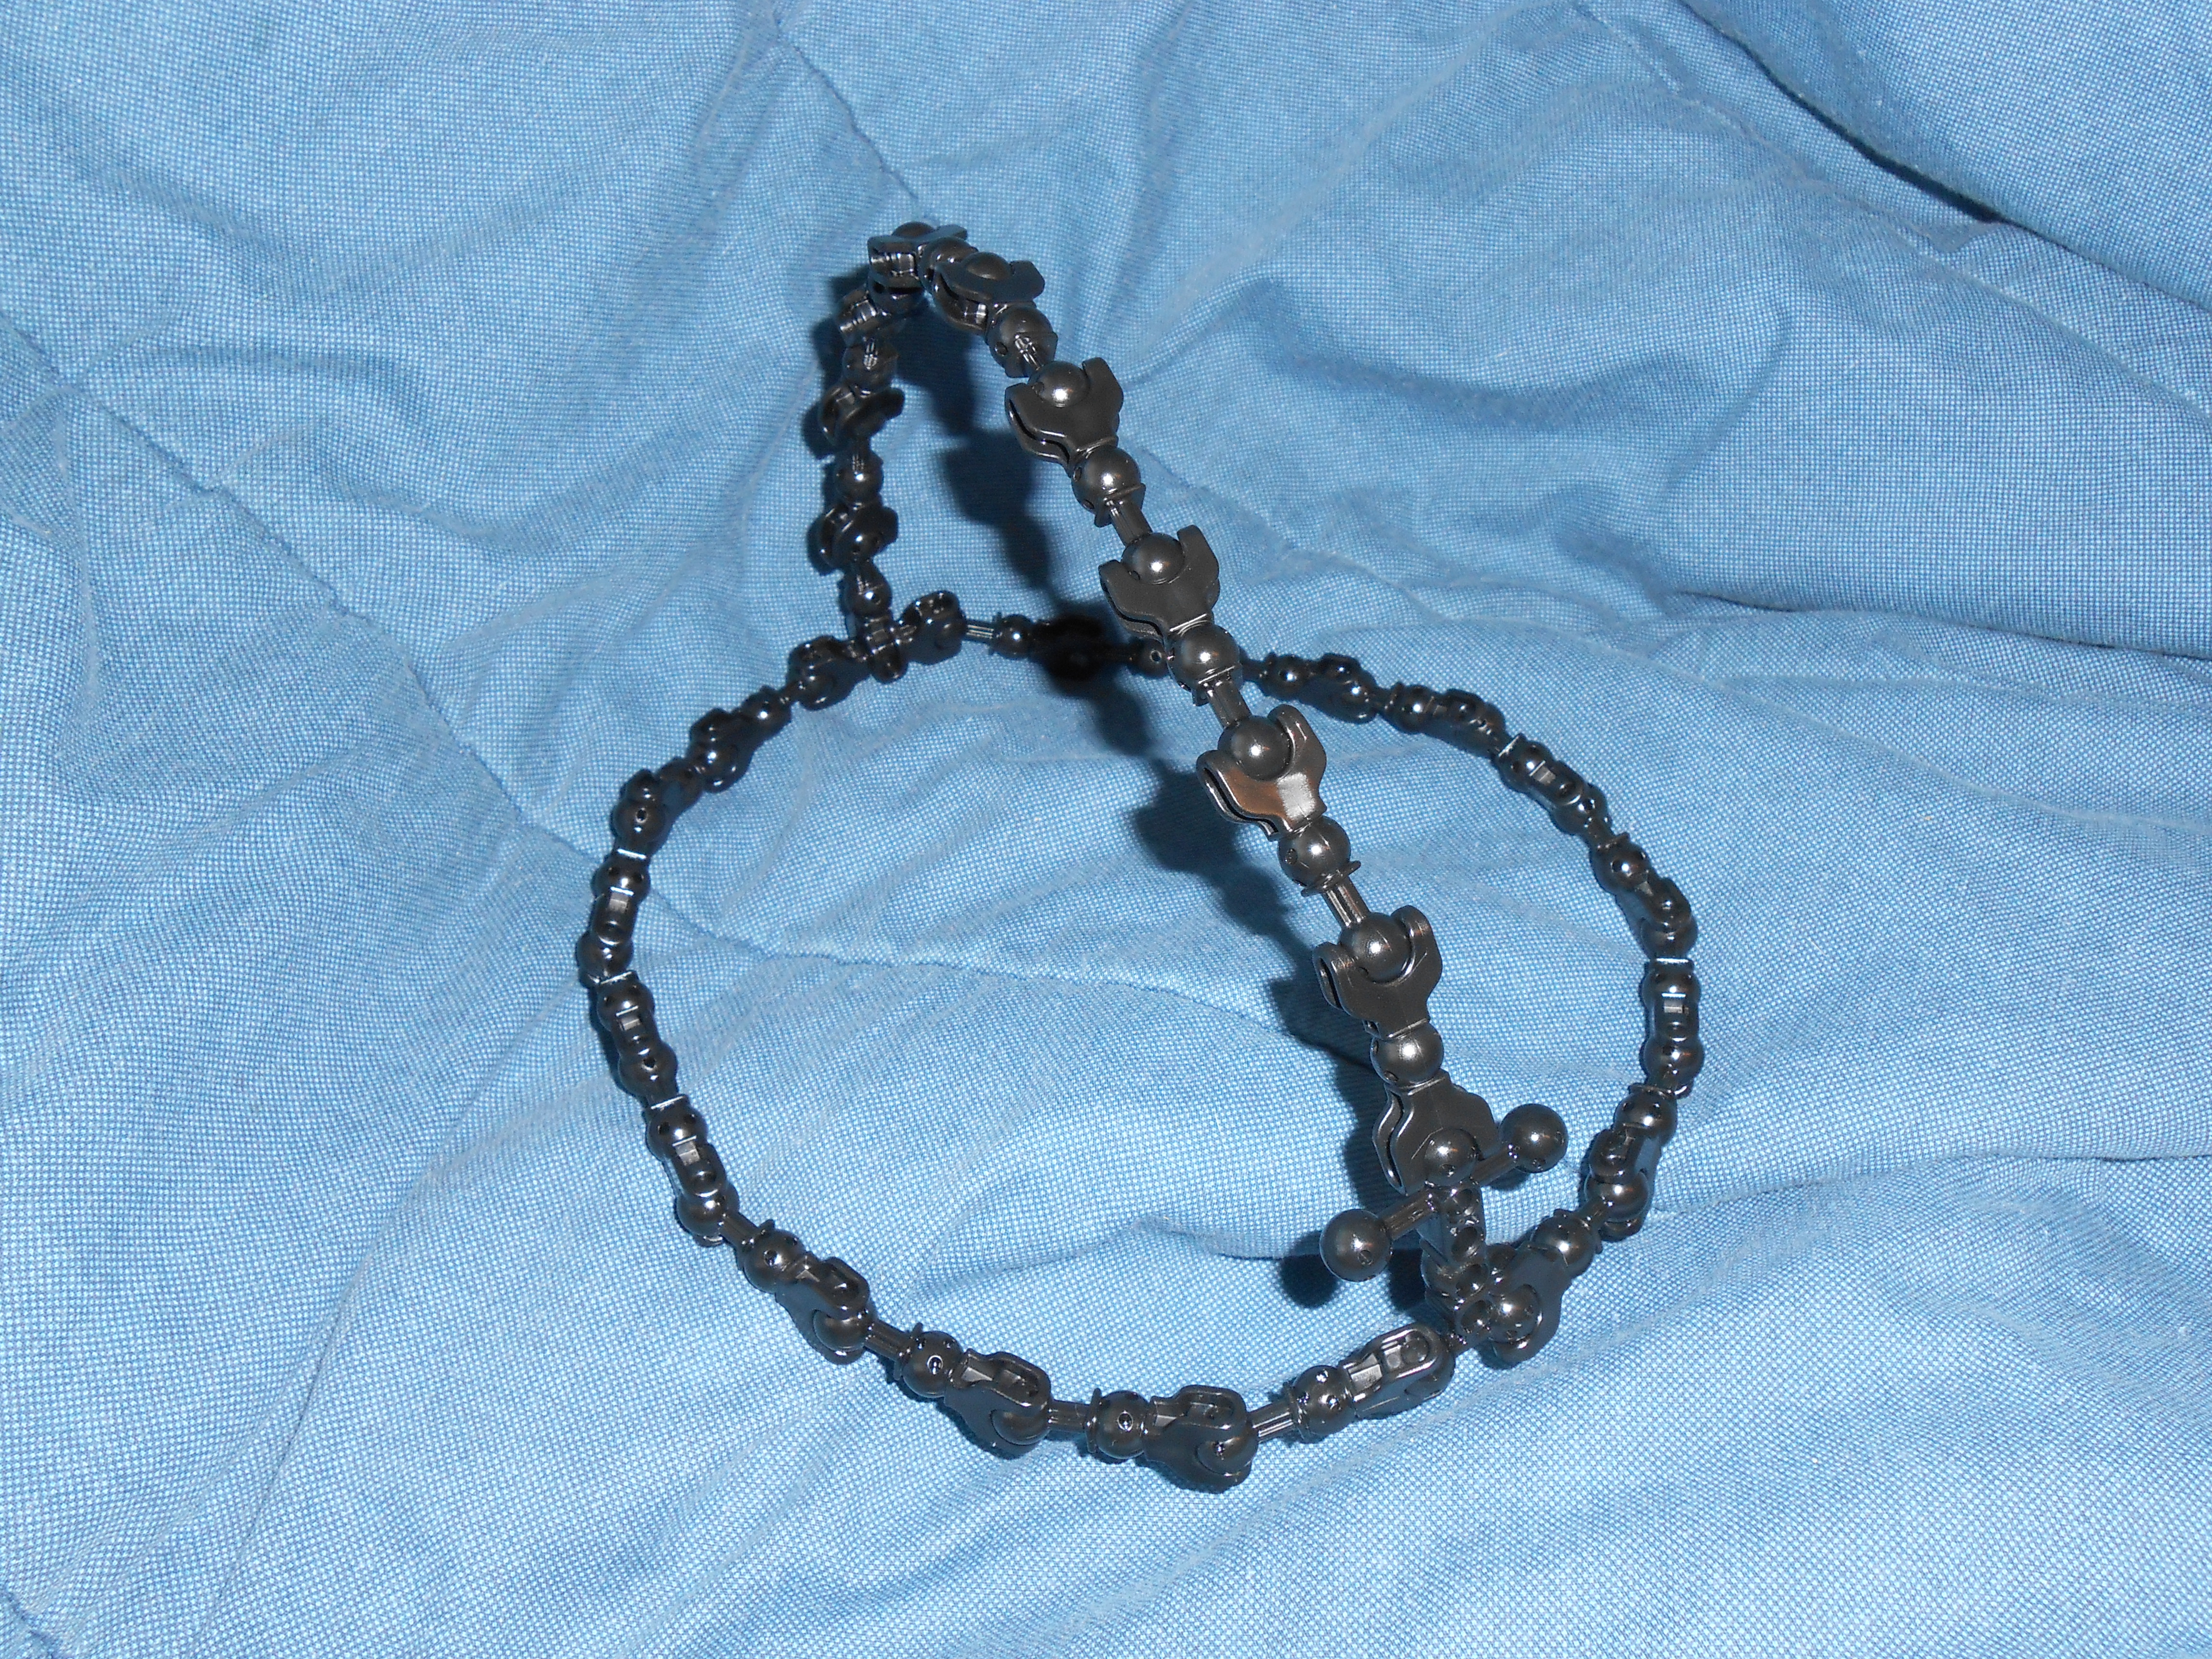
Its a shame the designer in the video didn’t go into better detail on the building process of the complete mask. Having seen the final product however, I got the gist of it and took photos of my results. All of my designs start with a sort of headband:
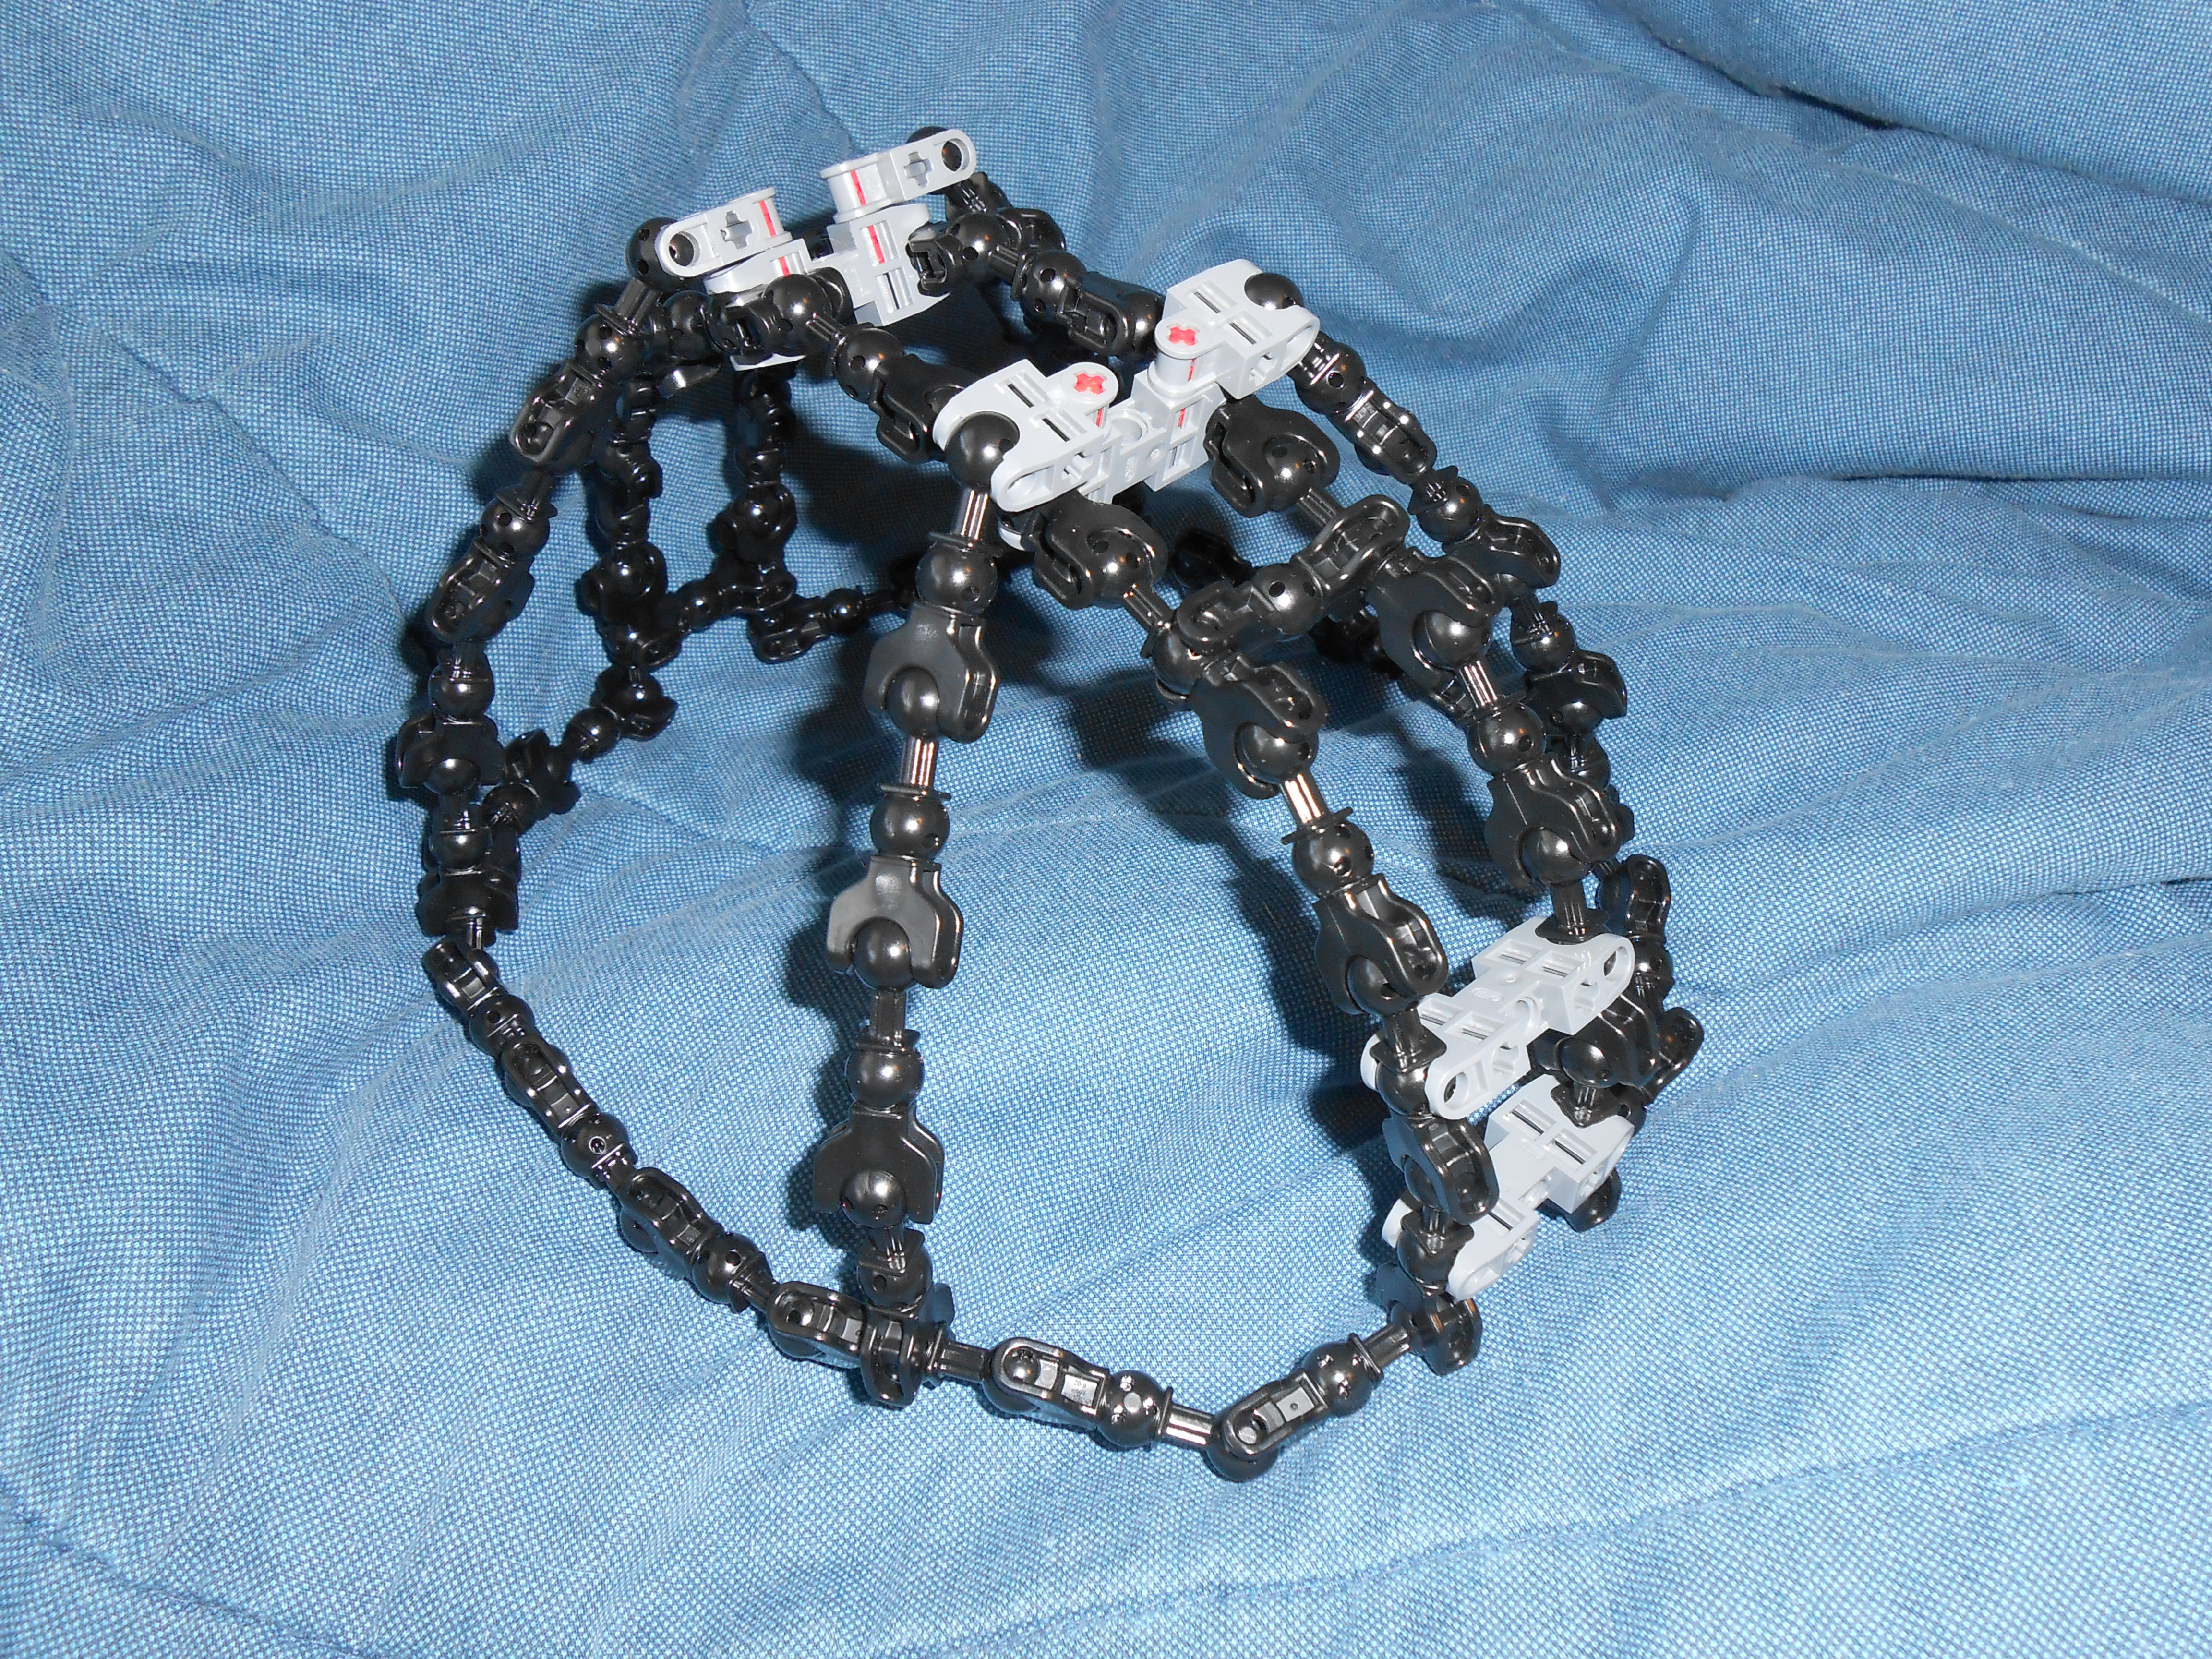
I bought a bunch of CCBS bones a while back when they were in the Pick-A-Brick in a LEGO Store. They continue to prove their worth to me, and were the best option to start my mask project. The first headband is just for a lite project, particularly if your doing a basic technic mask. If you need something more substantial however, I made a reinforced double band version.
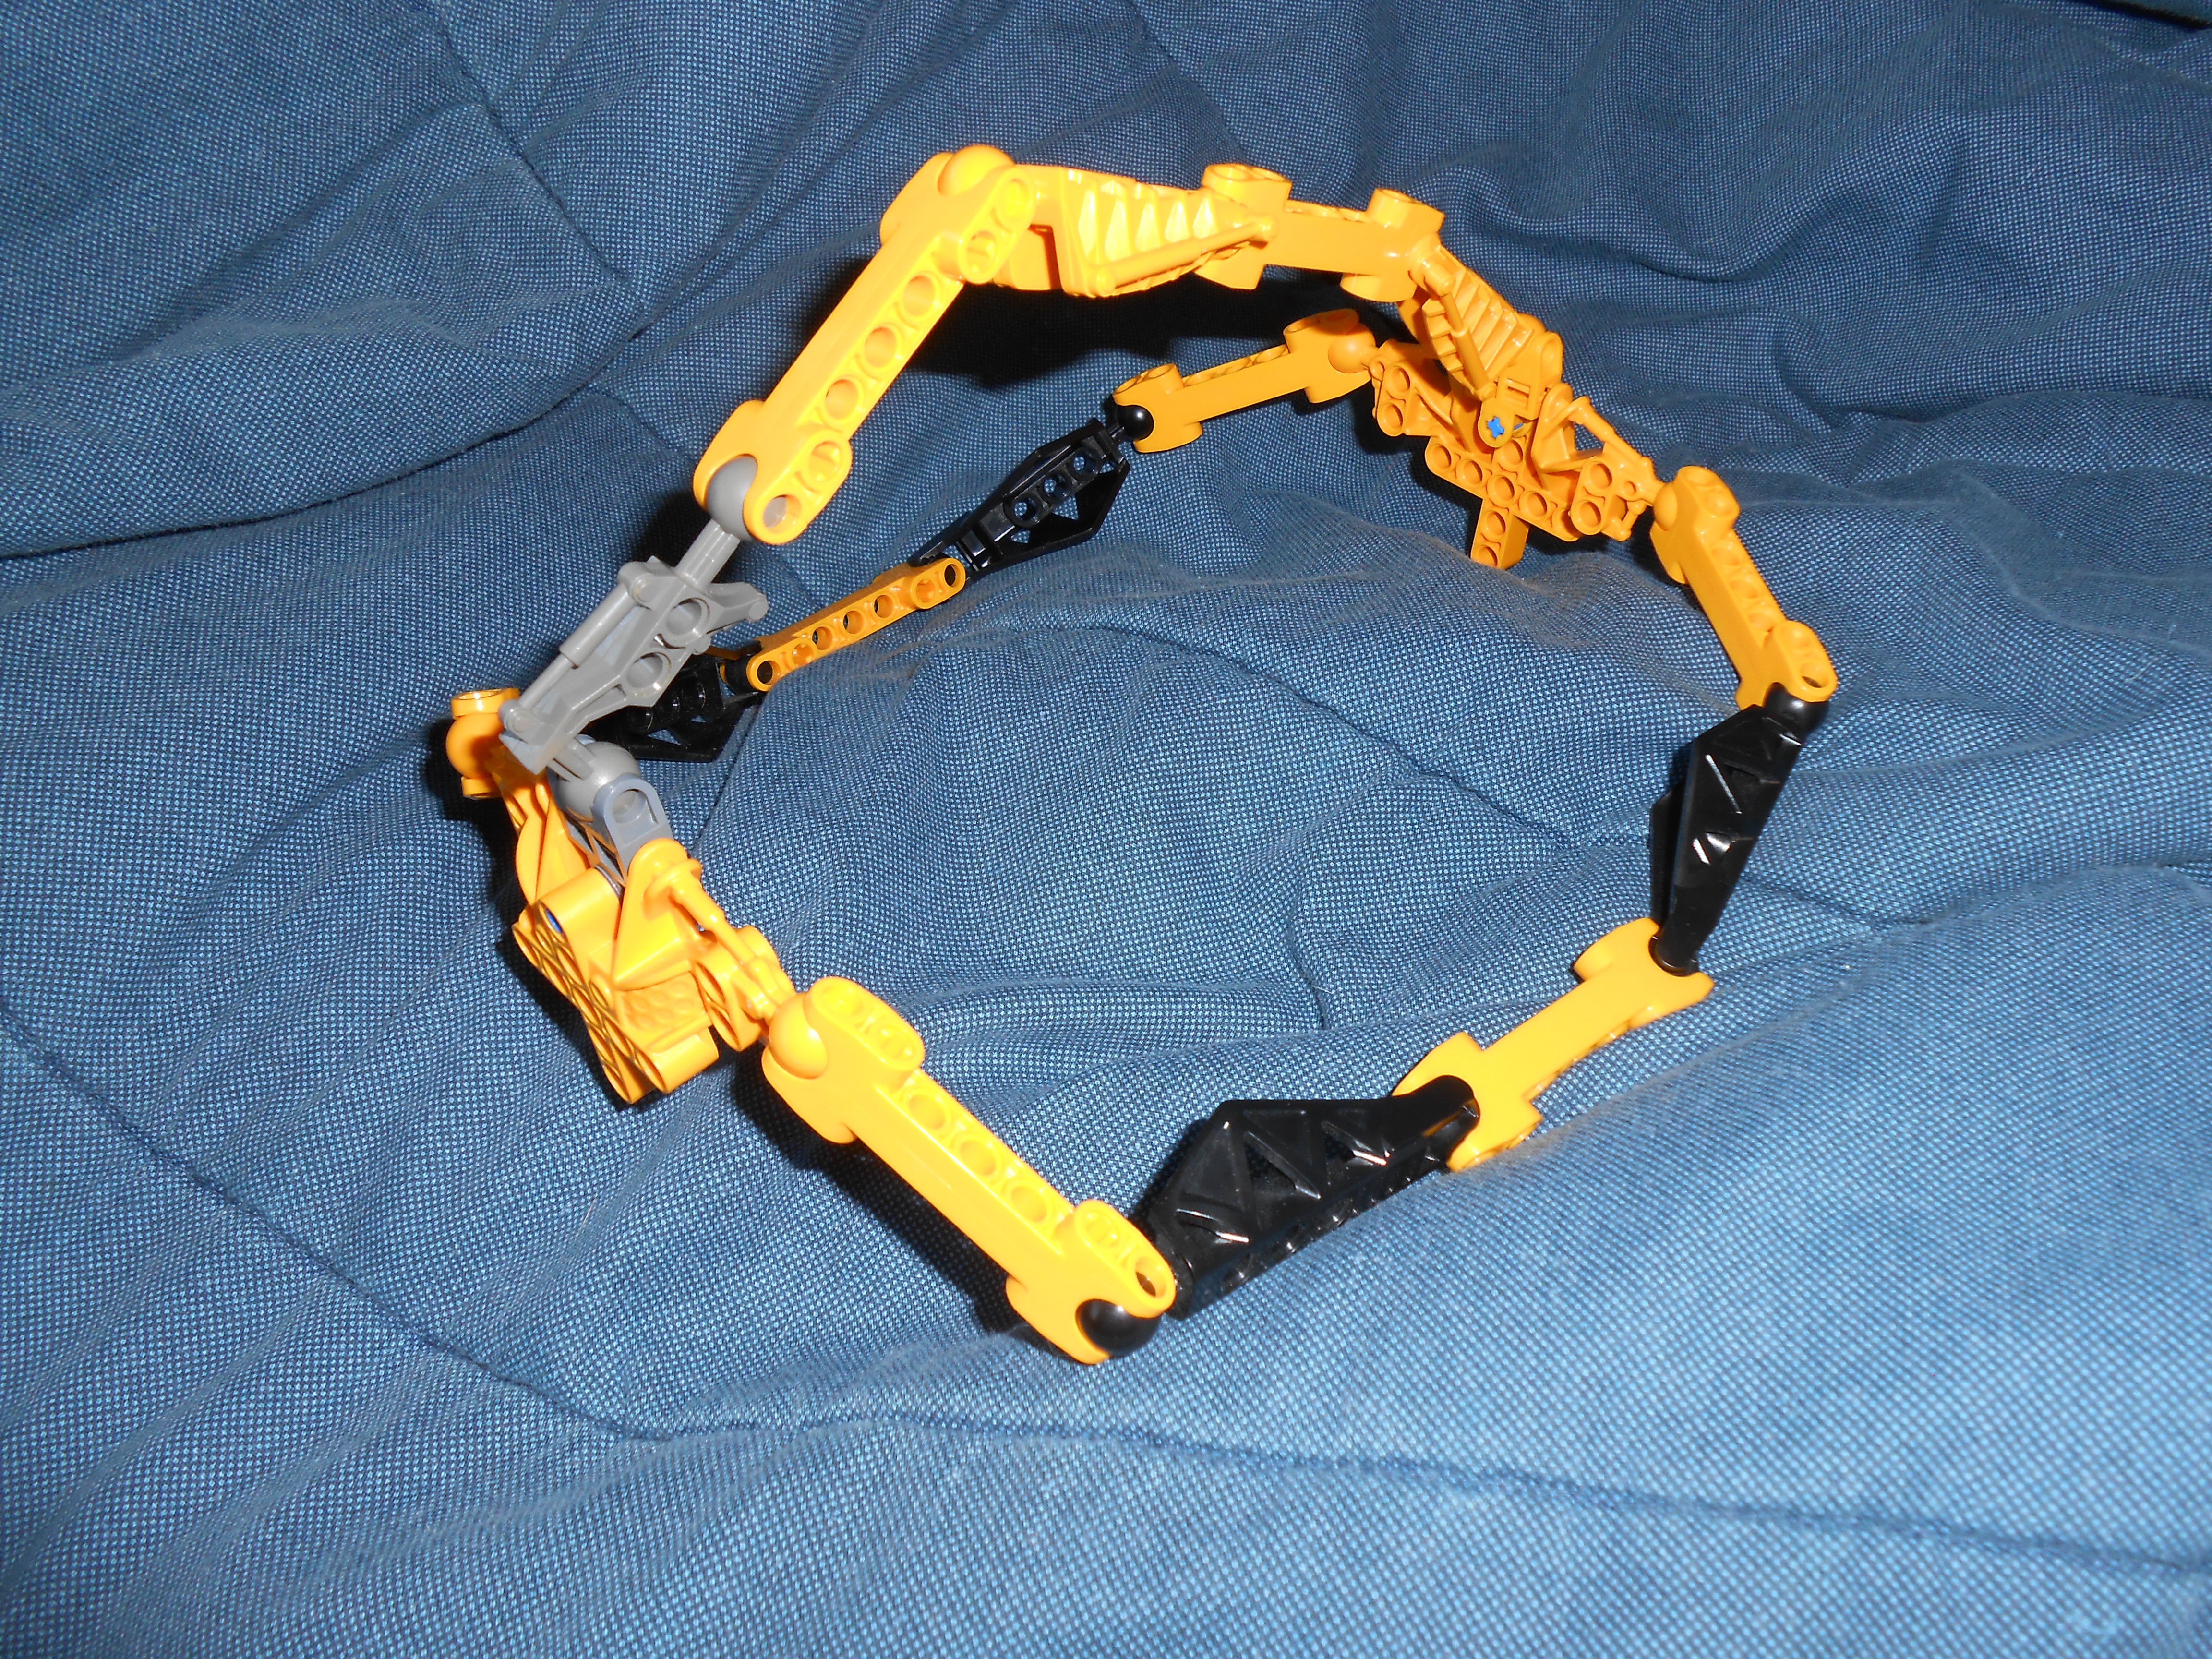
Depending on what parts you have on hand, you may have to get creative with some older parts. They also provide more color to your mask depending on the element your going with, but they may not be as comfortable or versatile as CCBS joints.
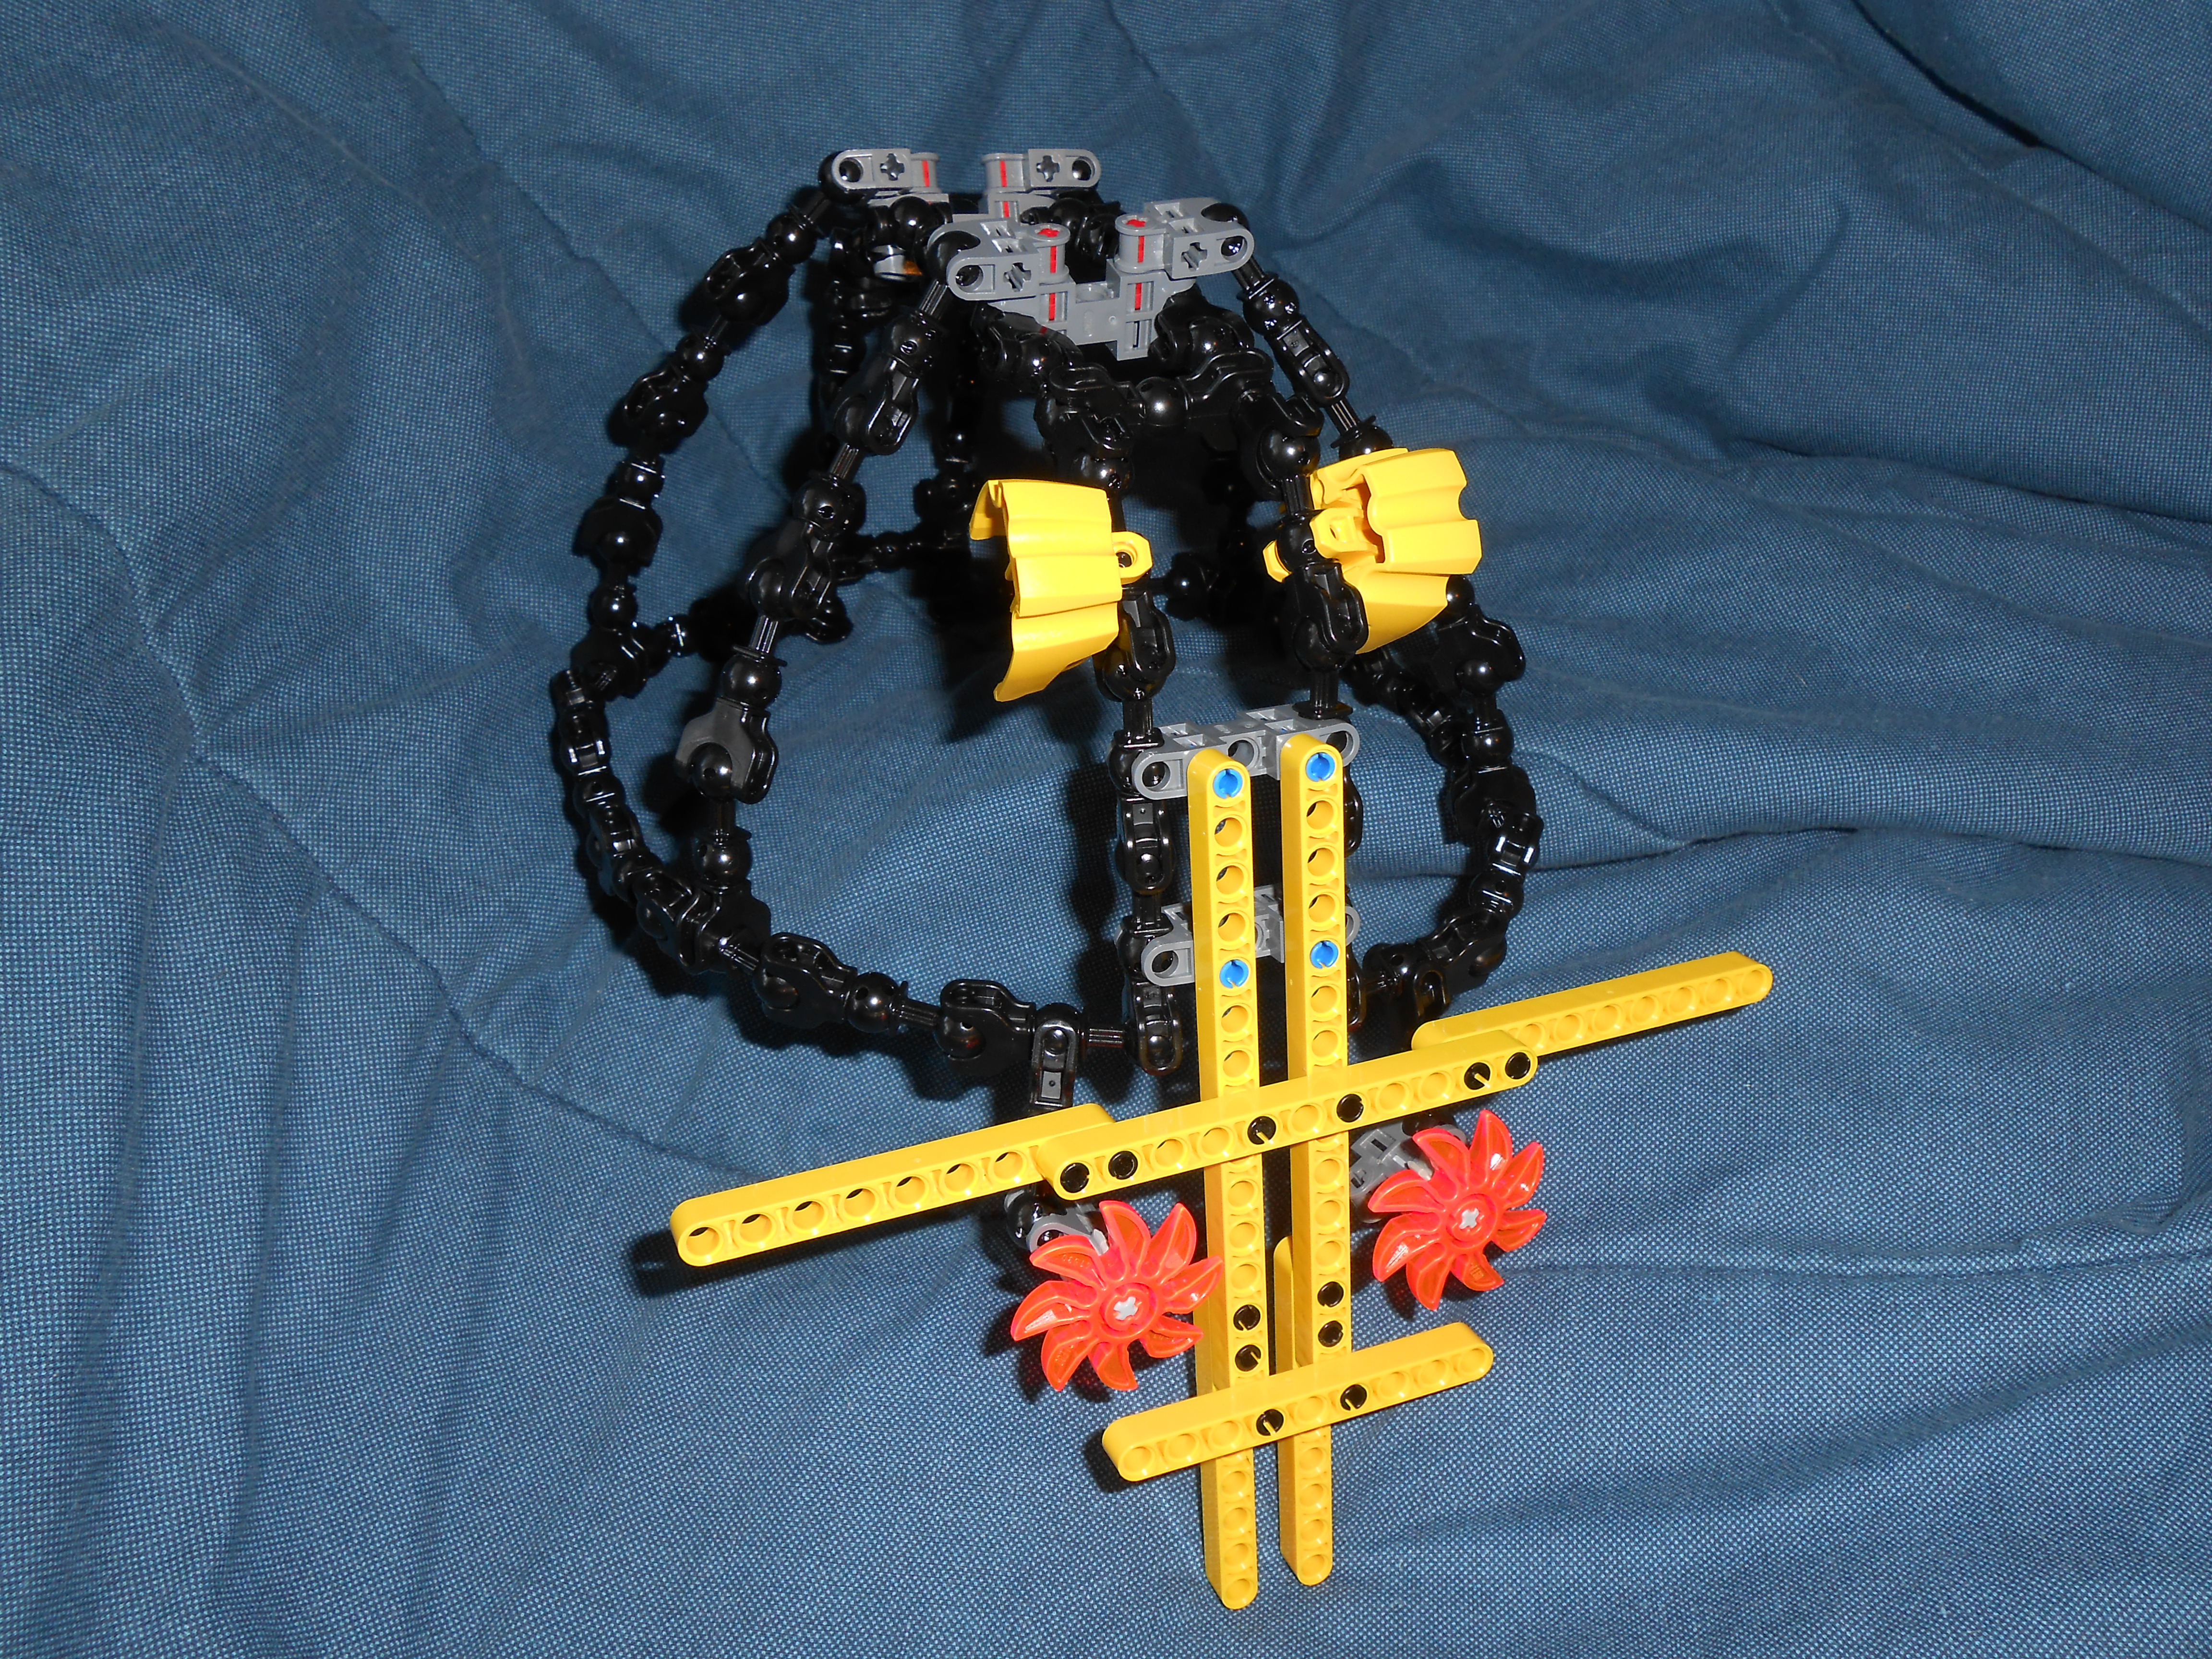
These are a couple quick technic frame designs I attached to the headbands, purely as a suggestion as how you might start building the face onto it(Or perhaps how you might attach a headband to a mask? Everyone has a different building process). Once you have the headband, all you really need to do is figure out how to attach a few technic beams or CCBS joints to it, and expand the frame of the mask from there. You may have to adjust the pieces in the headband as you go, depending on weight and how you decide to line the eyes up. From there it’s all trial and error. Expand the frame out, maybe cover the mouth. Perhaps add crown like extensions like the Mask Of Creation, or LEDs from the power functions series. You can add angled parts to try and extend the beams over the sides of your head. It all depends on what you like.
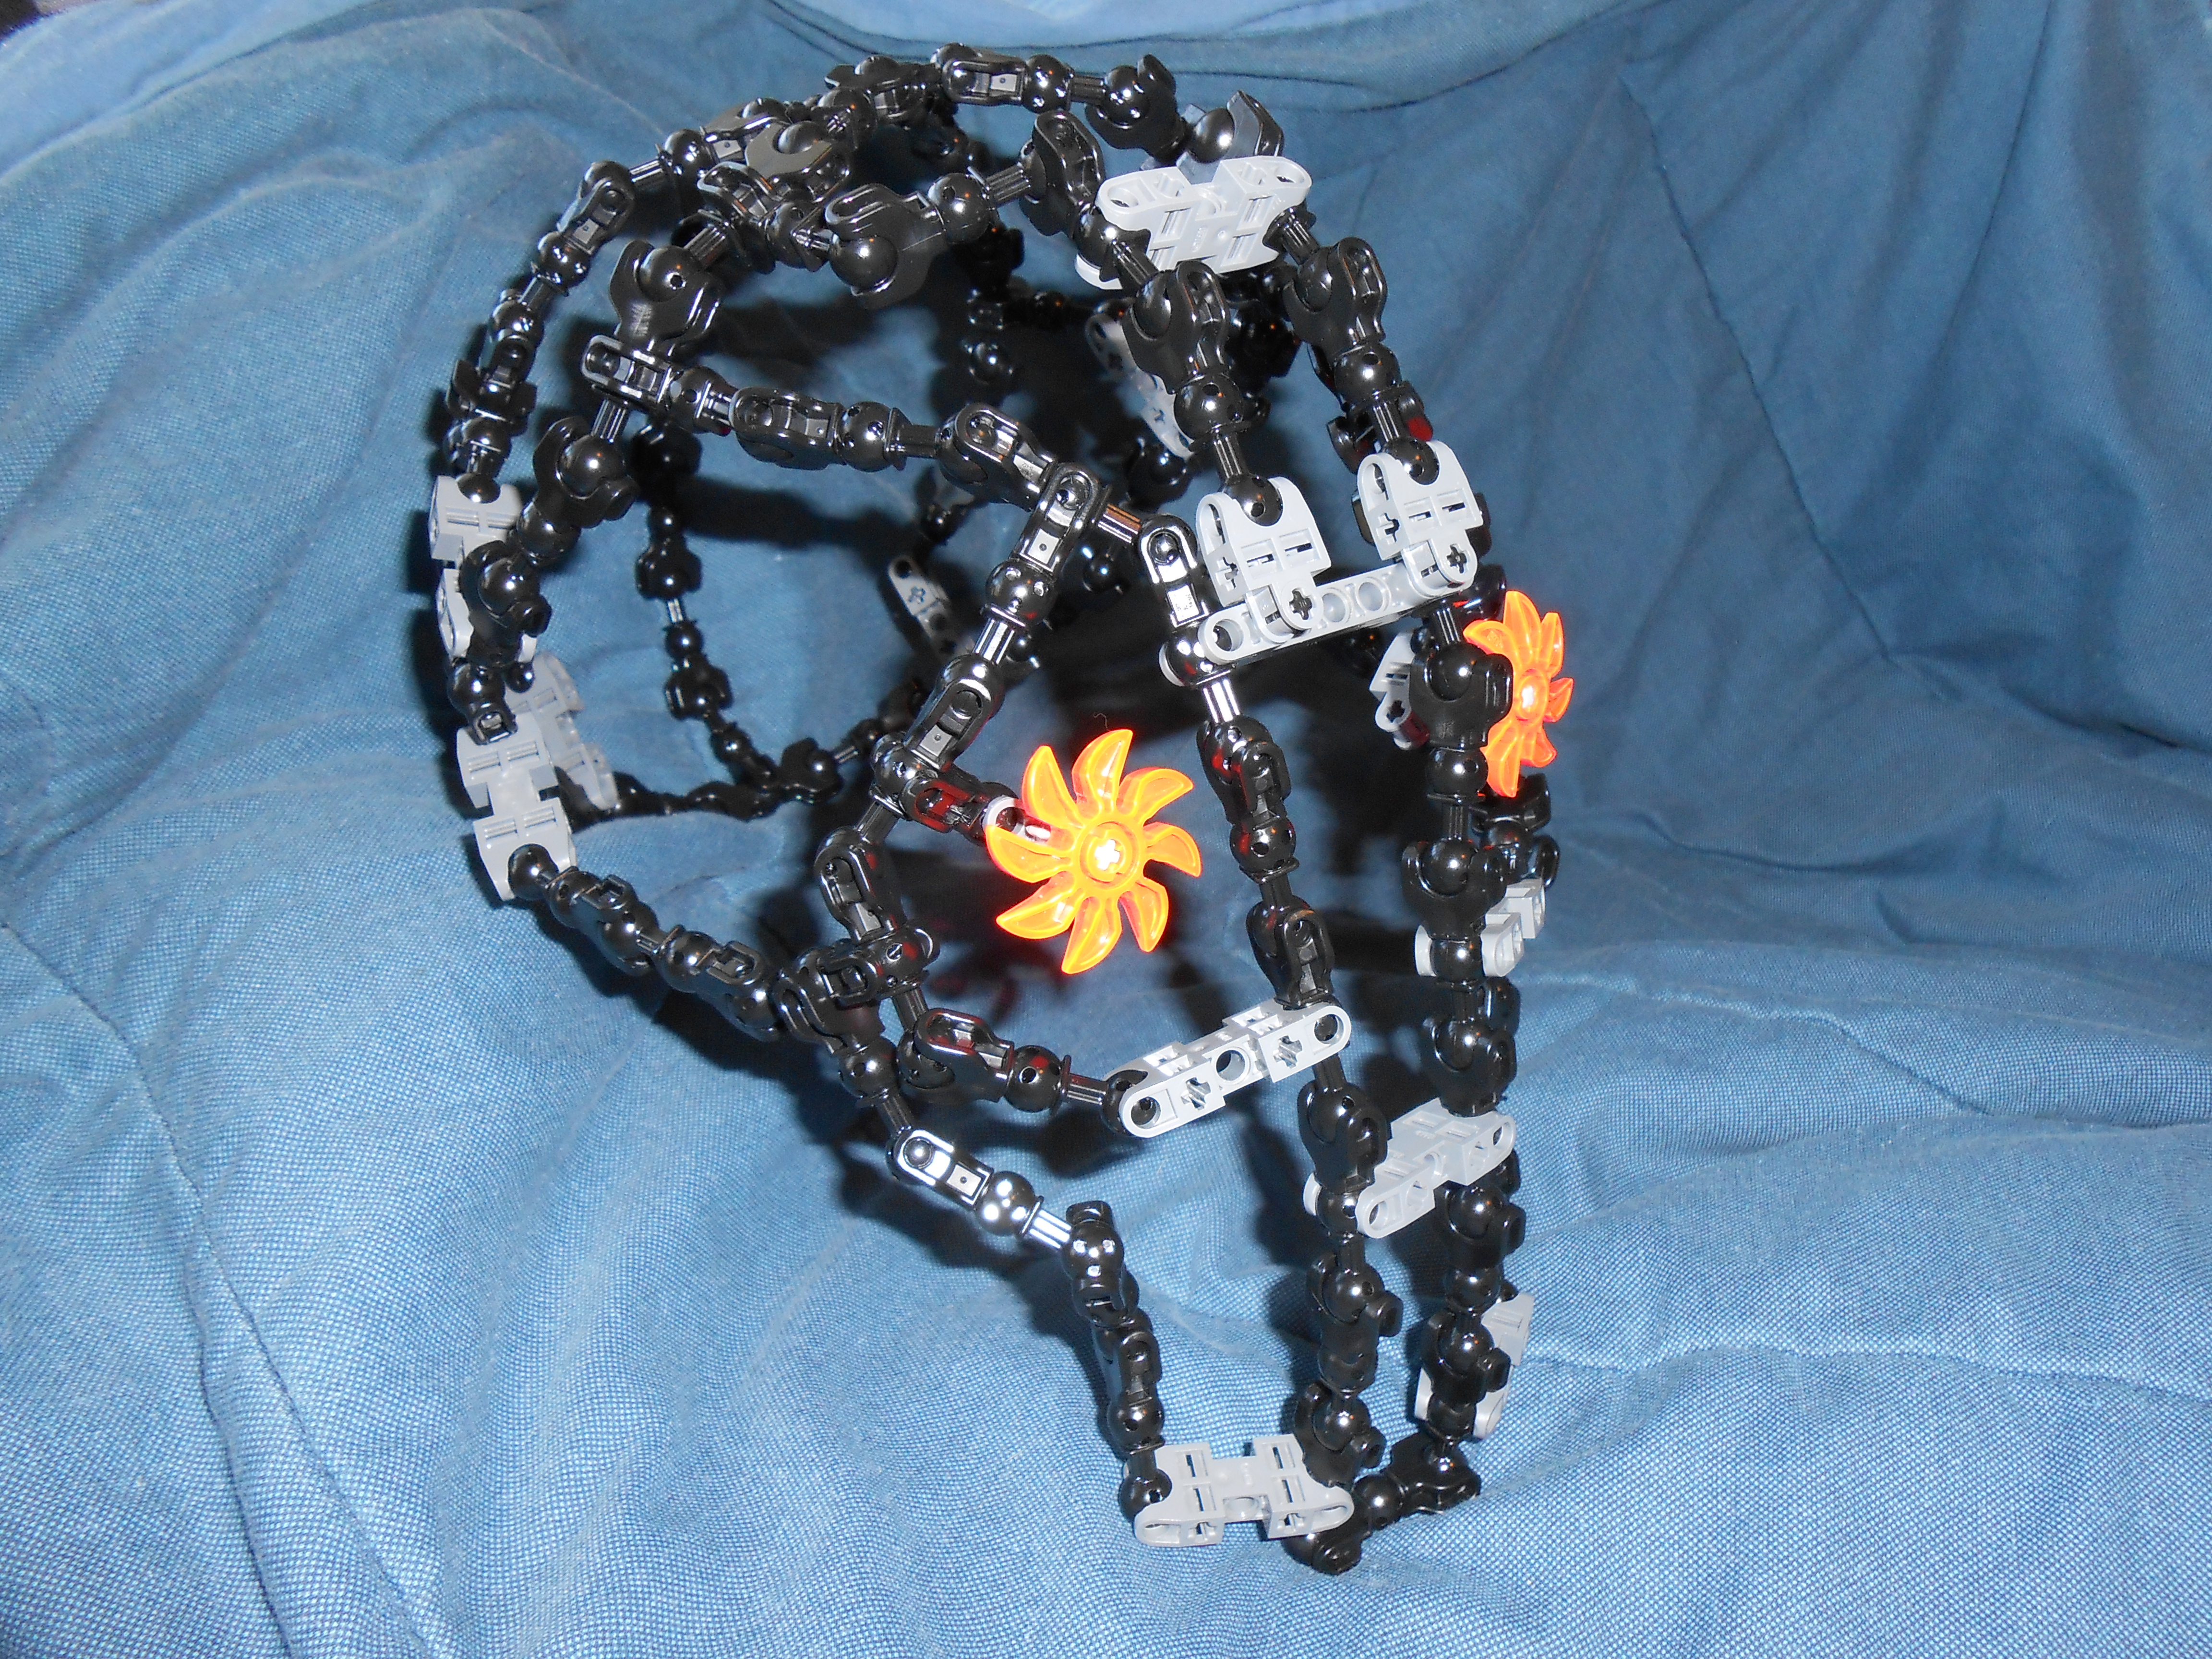
If you want to go full blown CCBS and have the parts, this design took less than a half hour to slap together. I started with the lite frame and just added “tentacles” to the headband and molded them where I wanted the face to be. Once I had the gist of the face, all I had to do was add more and more tentacles around the frame to reinforce it, making minor adjustments all the way. This design still has a bunch of flexibility so nothing is rigid, but this allows for future adjustments and making it easier to put on and take off.
Having a bunch of old gray double sockets on hand may help you connect the ends of the tentacles where needed, since the new double sockets are kind of scarce. It even has a very similar shape to that of the one in the tips video, and I think bears a resemblance to Nuparu Inika’s mask. I think I’ll leave this creation as is though, and call it “The Mask Of Potential”.

0 Comments